I’ve been wearing my hair in a bun for a while now because it’s so easy to style and great for beating the heat too! At the request of some readers, I’ve also done up a tutorial to show you how my bun is done.
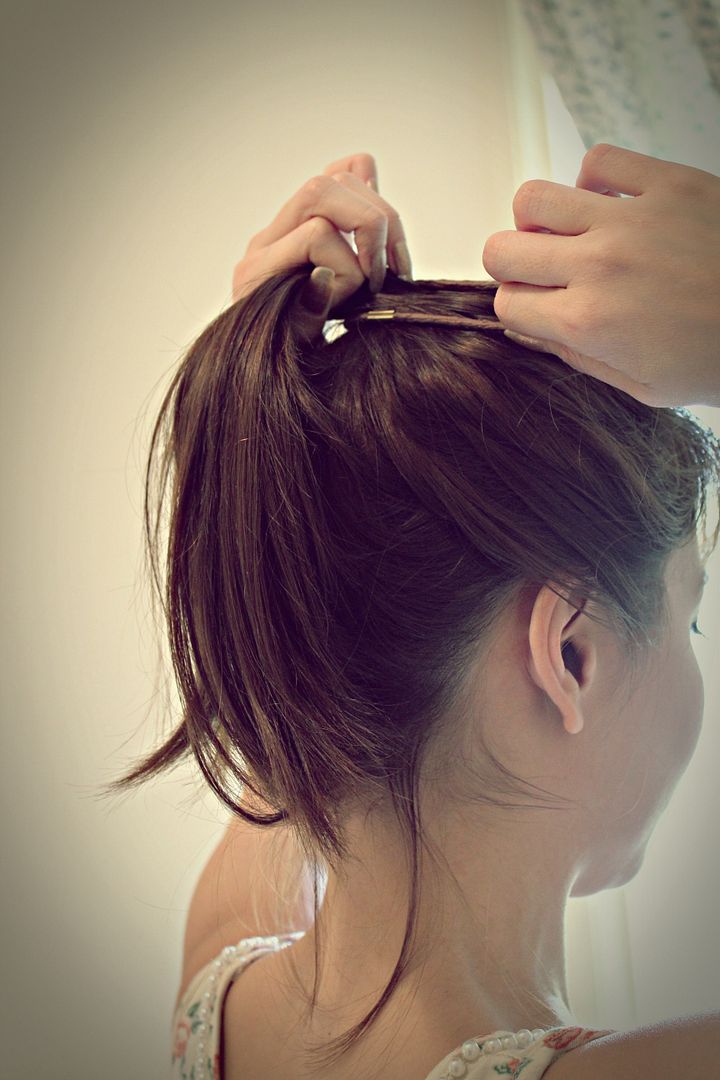
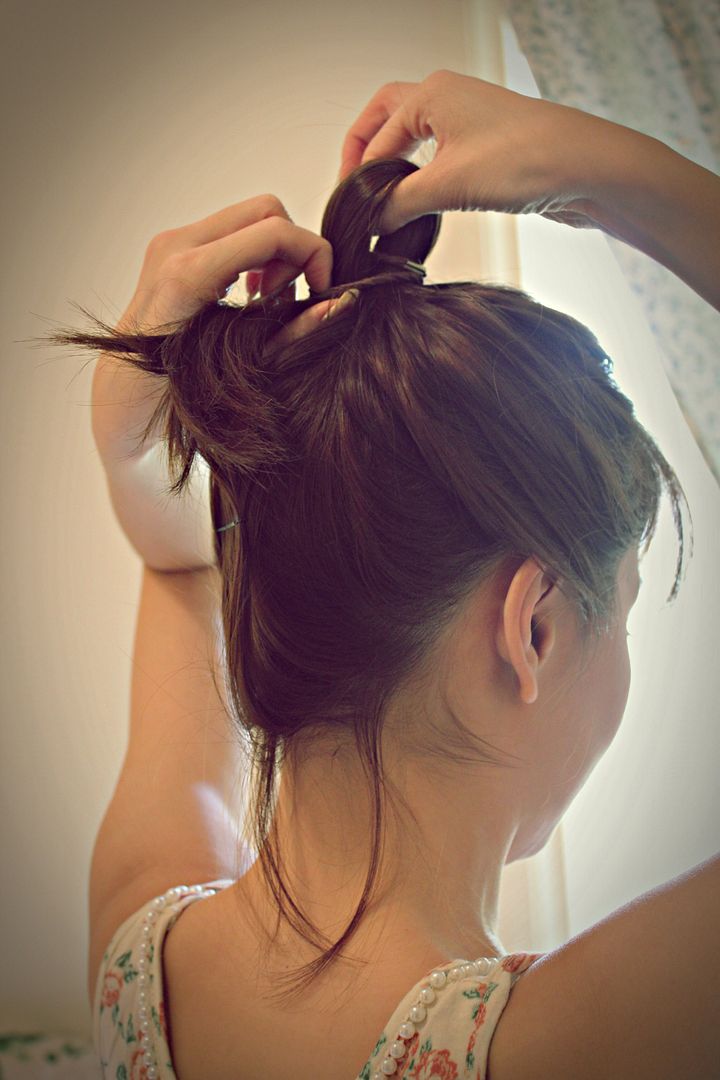
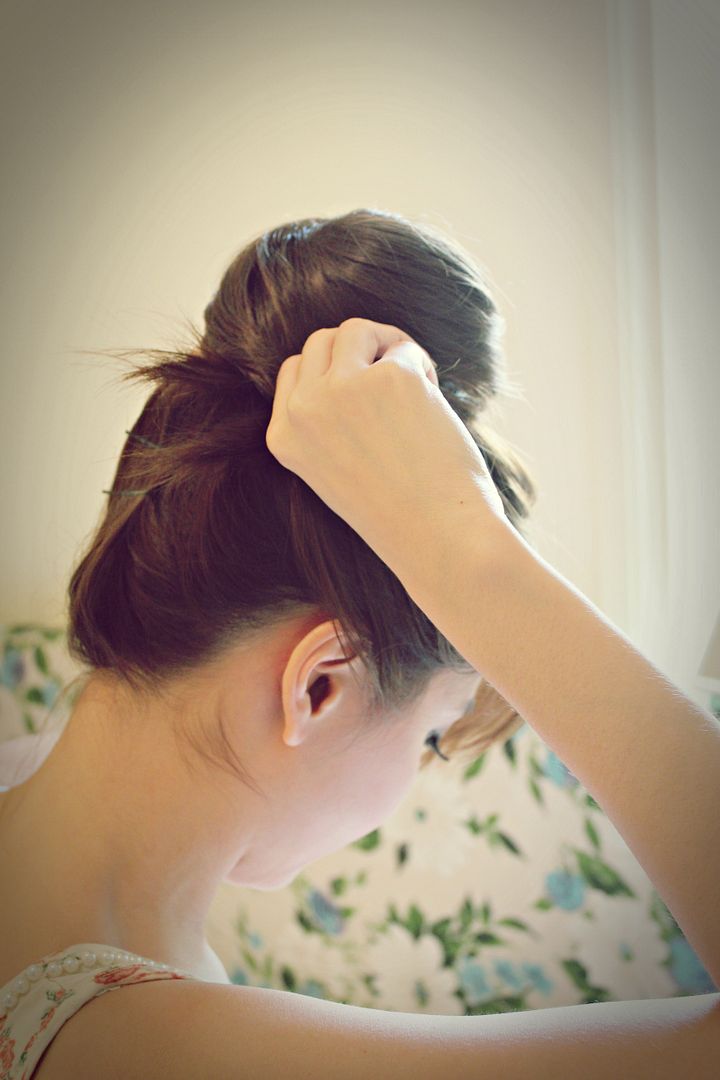
Step 1: First, tie your hair up into a bun with a rubber band.
It should look something like this when tied, but I usually make a bigger loop with my fingers to shorten the ends that are sticking out. That way, it’s easier to tuck the ends into my bun hairpiece, which you’ll see next.
If your hair is too short, you can either tie a lower bun or pin up the hair at the bottom with bobby pins.
If your hair is too short, you can either tie a lower bun or pin up the hair at the bottom with bobby pins.
Step 2: Here’s my bun hairpiece, in the style of the Japanese odango. You can get this from http://girlhairdo.com.
I bought a couple of hair pieces in different styles from Grace, the owner of girlhairdo.com. She found various hairpieces in my hair colour and taught me how to use them. 🙂
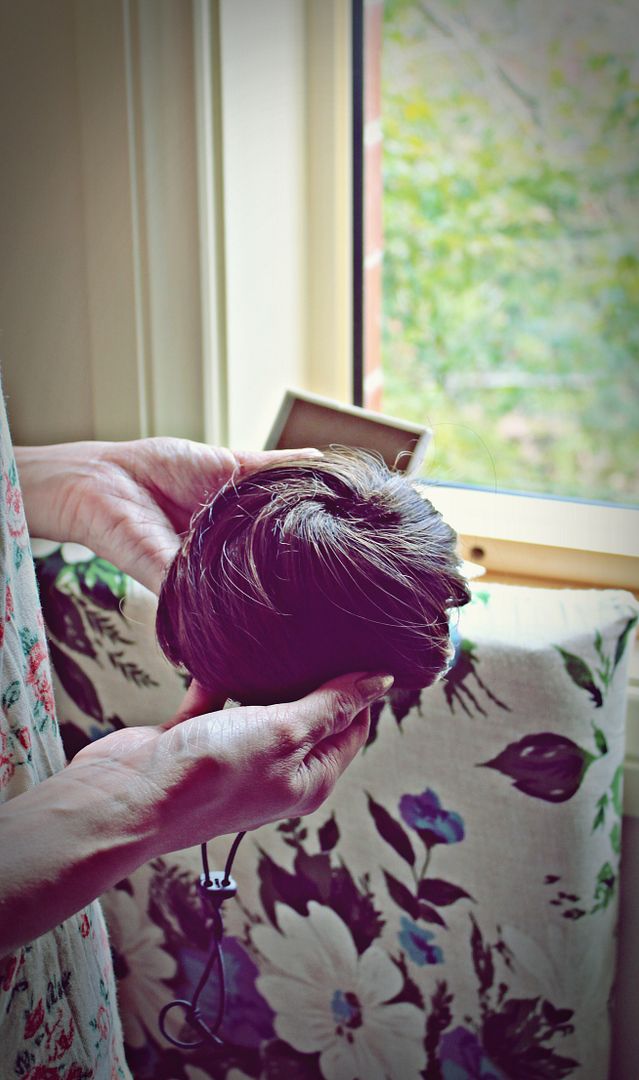
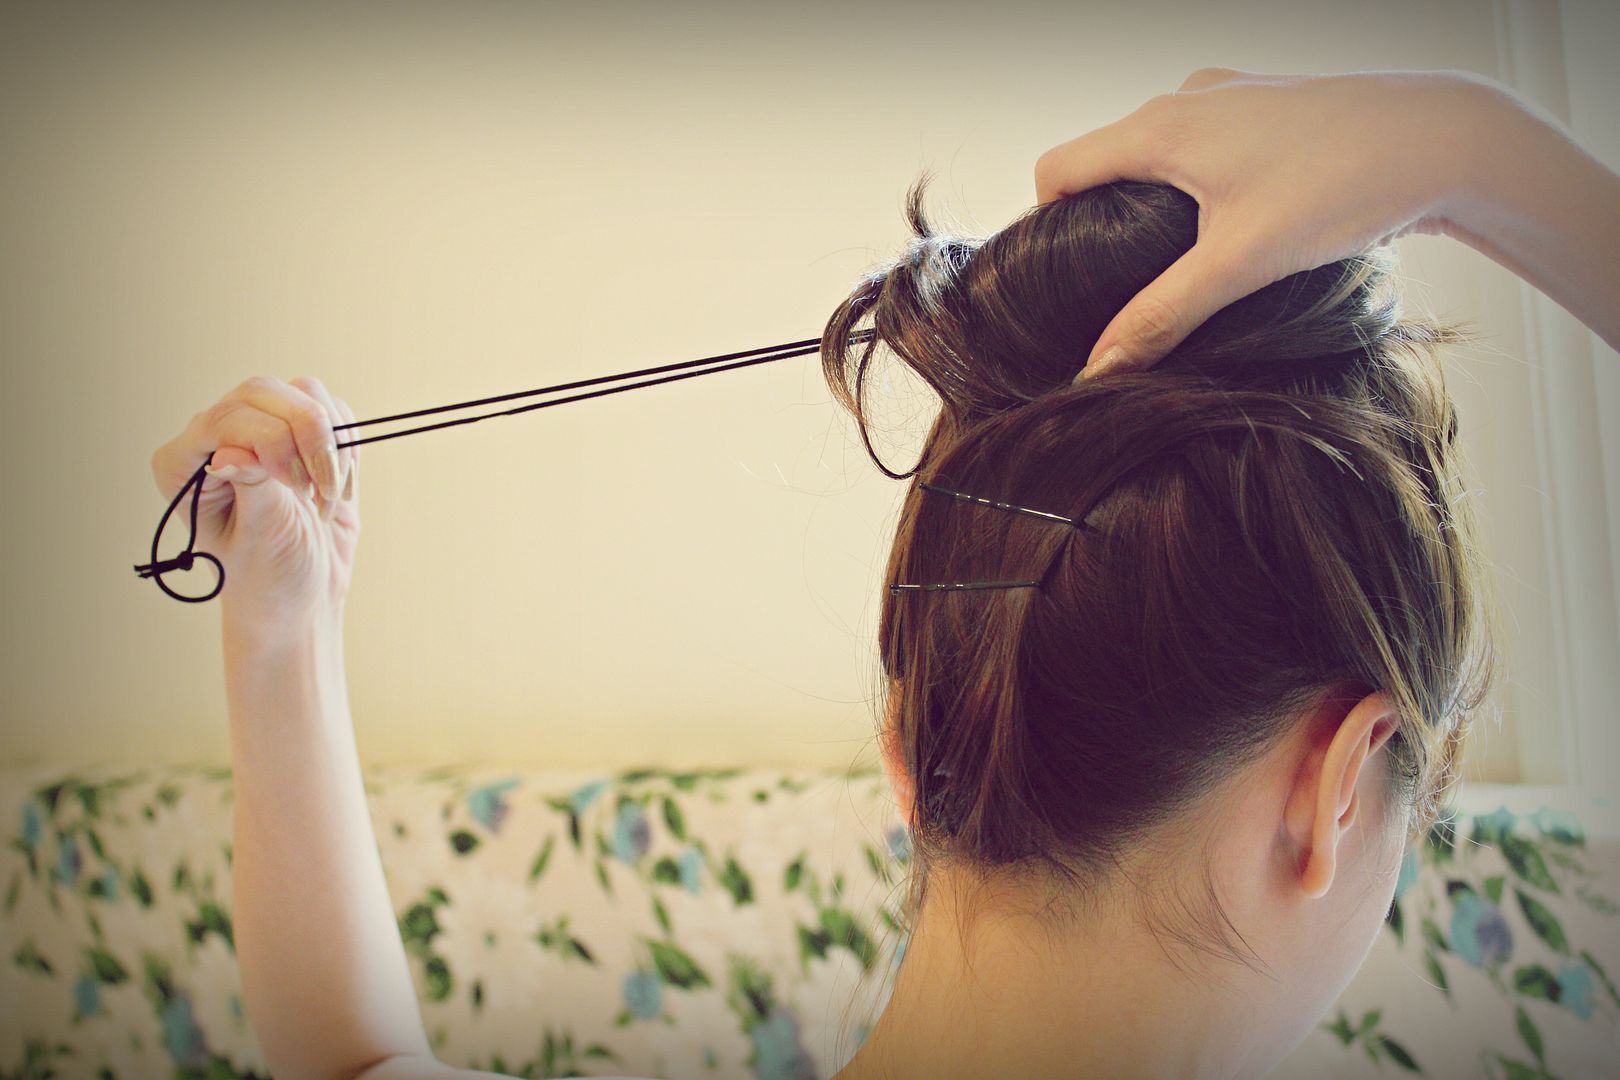
The bun hairpiece comes with an elastic drawstring which you can pull to tighten so that it grips on to your hair.
Step 3: Loosen the drawstring around the bun hair piece and fit it over your bunned up hair. It’s almost like putting on a dress for your hair. 😛
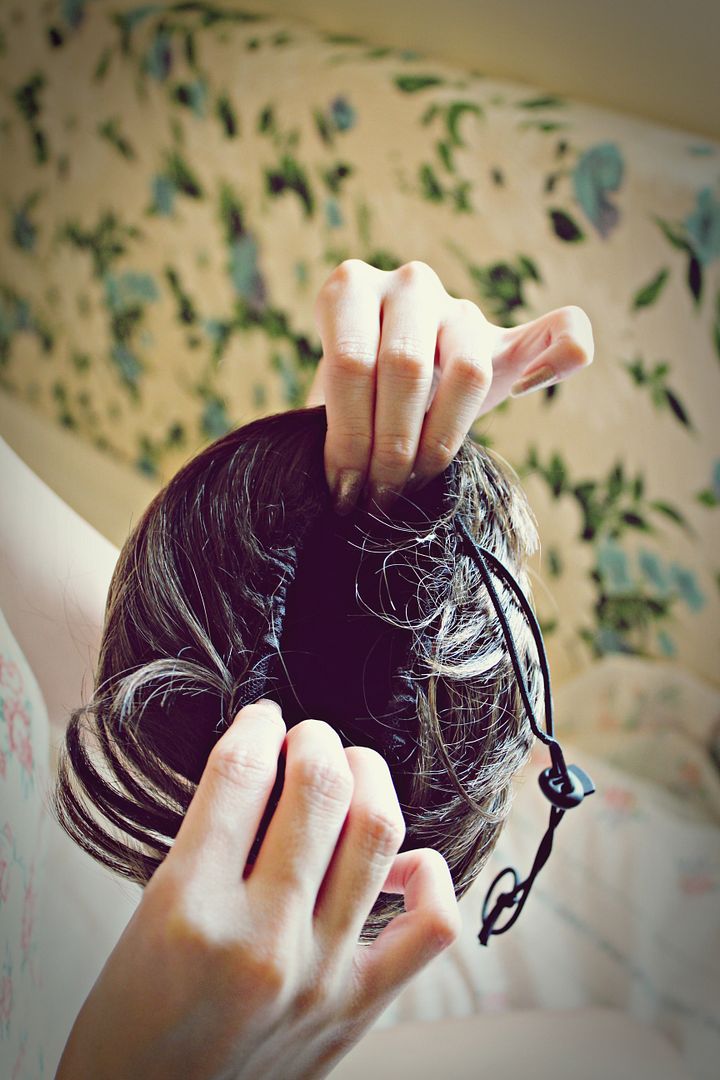
Step 4: Pull the drawstring to tighten the grip of the hair piece on your hair. You can try shaking your head a little to test if it fits well. If it’s too loose, it may fall off when you encounter strong winds or when you run. I’m sure you wouldn’t want to scare off passers-by with a huge hairball!
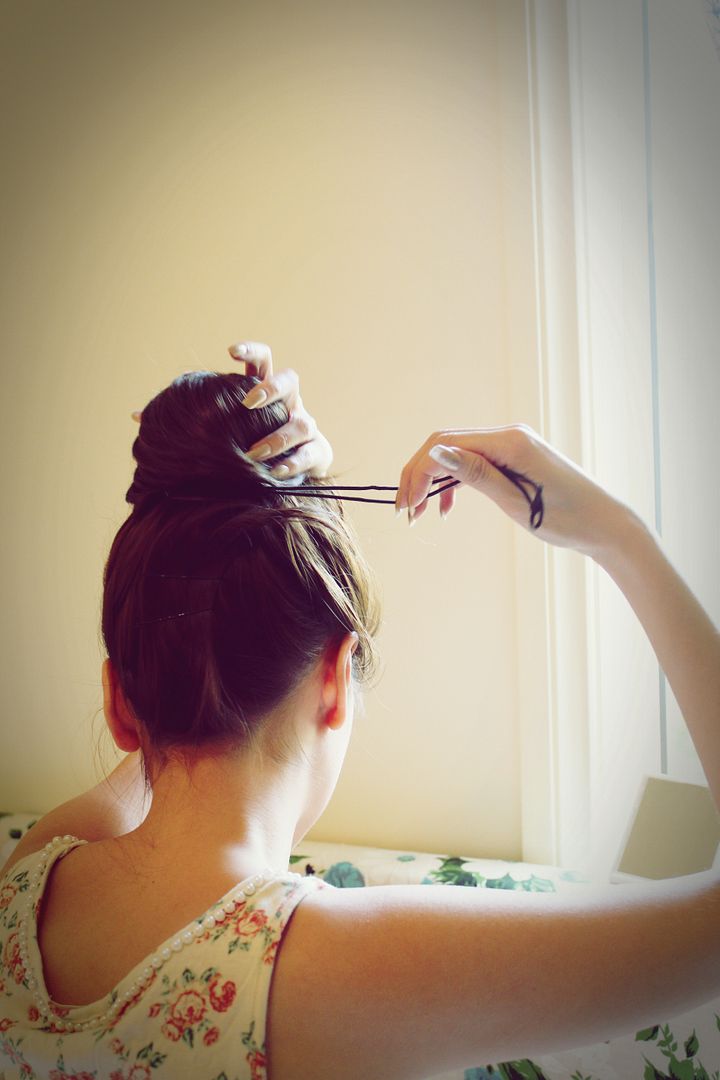
Step 5: Go around the bun hair piece with the drawstring and tuck the ends of the string, together with the ends of your hair, into the bun hair piece.
There, that’s how I style my bun! My hair looks impeccable and neat with my bun hair piece. Styling has never been easier! 😀


Recent Comments