Eyebrow embroidery is a beauty service that I’ve been thinking of trying out as it is getting immensely popular these days and many of my girlfriends have experienced wonderful results. I have previously read rave reviews about
Allure Beauty from forums and blogs, hence when Mistical from Absolute PR contacted me on behalf of the saloon for an eyebrow embroidery session, I agreed right away.
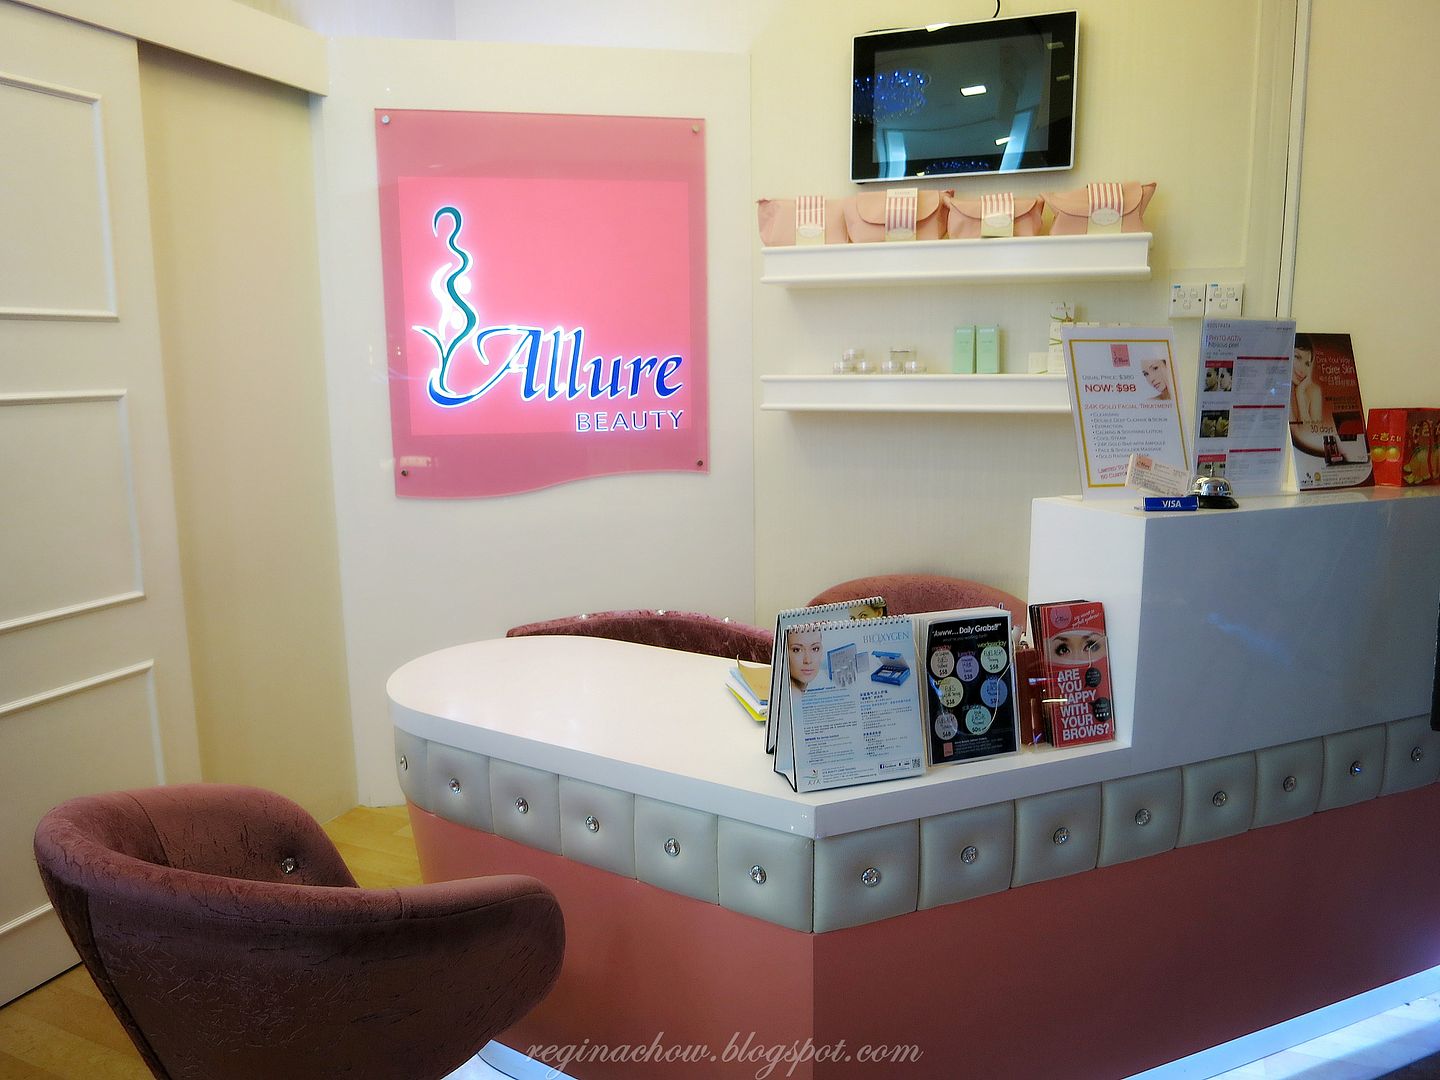
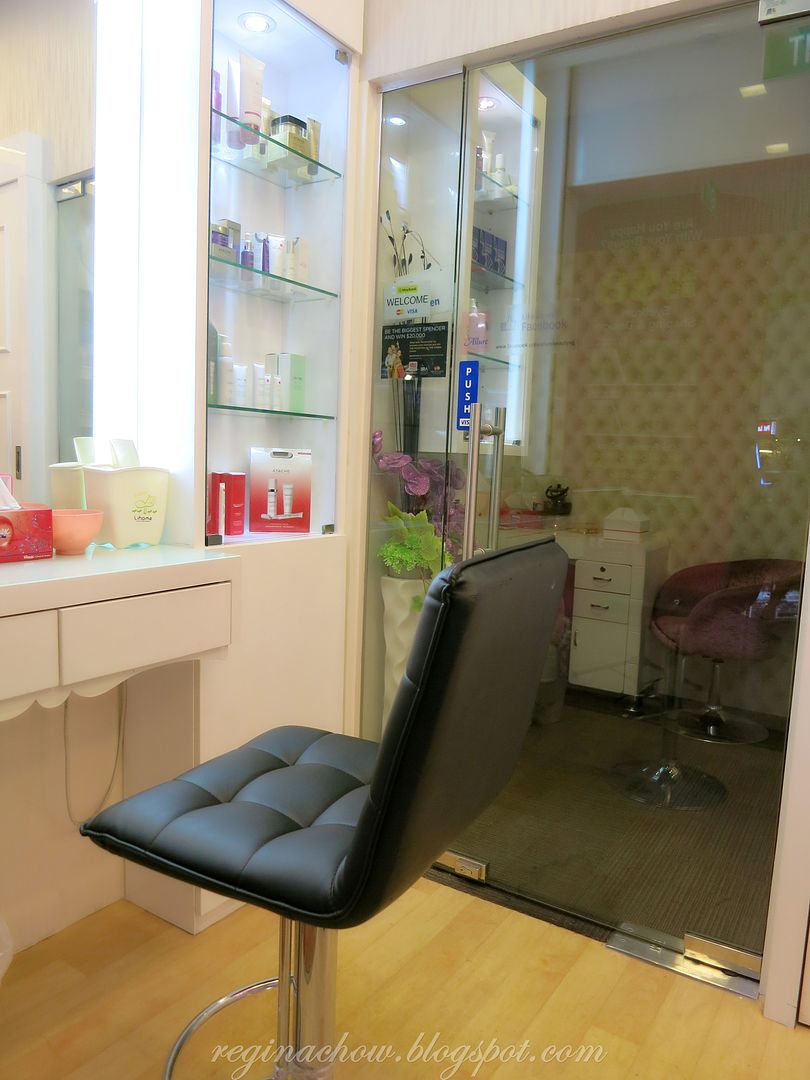
Established in April 2002 by founder Ms Angela Tnee, Allure Beauty has since expanded and includes 3 outlets conveniently located in Tiong Bahru Plaza, West Mall and City Square Mall respectively. I couldn’t be happier when Mistical suggested that I visit their West Mall branch as it is just a stone’s throw from my home.
What is Eyebrow Embroidery? How is it different from Eyebrow Tattoo?
Eyebrow
embroidery involves the application of pigments to the outermost
epidermis layer of your skin. This is different from eyebrow tattoo,
where the pigments penetrate deep into the dermis layer and gets
absorbed deeper into the skin as time progresses. Unlike eyebrow tattoo which is permanent, eyebrow embroidery is only semi-permanent and can last up to 2 years or longer with frequent touch-ups.
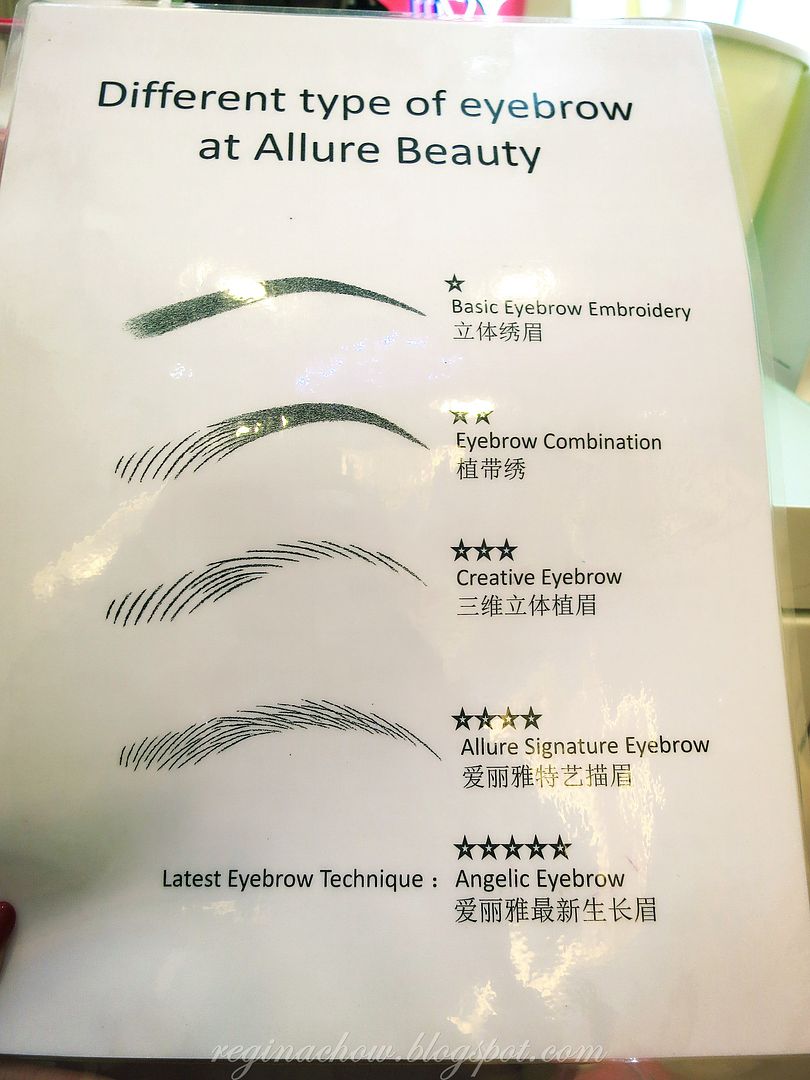
Founder of Allure Beauty, Ms Angela Tnee, picked up eyebrow embroidery in 1994 from an eyebrow specialist in Hong Kong and was the first to introduce creative eyebrow embroidery skills using the stroke-by-stroke technique in Singapore. This technique is now known as Allure’s Signature Eyebrow Technique and that was exactly what I was going to try out that very day.
Kelly, the Principal Trainer at West Mall, gave me a detailed overview of the different types of eyebrow embroidery services offered by Allure Beauty.
Allure Beauty believes in upholding the highest standards of professionalism, hence the Allure Signature Eyebrow Technique is only performed by senior consultants who have undergone years of training and are personally certified by founder Ms Angela Tnee. This particular technique incorporates nano-technology to achieve natural-looking strokes that mimic the appearance of real hair.
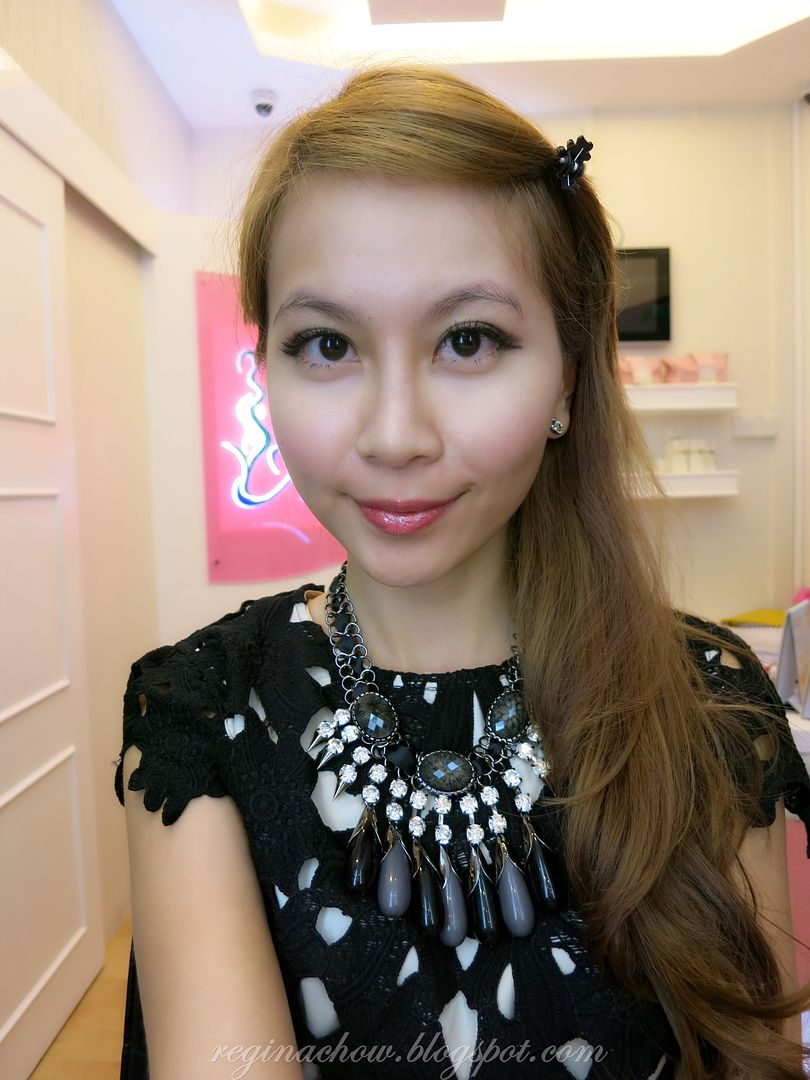
Before I give you the lowdown on the eyebrow embroidery process, here’s an embarrasing photo of my brows before embroidery for your reference. As you can see, my brows are relatively thick (thanks to my mum who painstakingly applied alcohol on them when I was a baby), but they are extremely untidy, undefined and completely out of shape.
I used to get them plucked and trimmed professionally but in recent years, laziness got the better of me as my bangs covered most of my unruly brows anyway. I couldn’t wait to get started on the eyebrow embroidery session after Kelly clipped up my bangs and revealed my horrible brows!
What is the eyebrow embroidery process like?
Step 1: Neatening the brows
The first step is to neaten your brows by shaving off the stray hairs.This makes it easier for the therapist to shape and design your brows later on.
Step 2: Numbing Cream Application
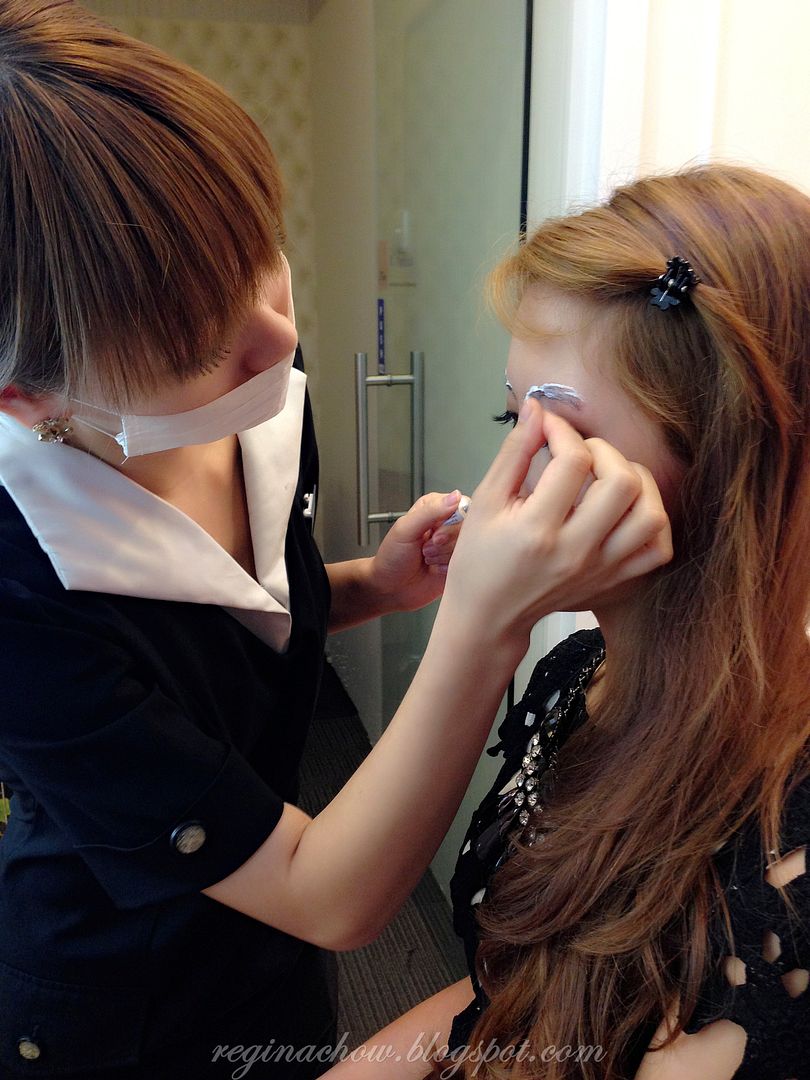
Most beauty saloons would apply numbing cream after shaping and designing your brows, but over at Allure Beauty, numbing cream is applied at the onset so that your brows are sufficiently numbed. This is an important step to ensure that the whole process is painless and comfortable.
This step takes about half an hour. During the wait, Kelly and I discussed any possible concerns that I had about my brow shape and colour. We both agreed that a dark brown shade would be used for my brows to match my light hair colour.
Kelly also shared with me that Allure Beauty offers a comprehensive
range of beauty services, including facials, eyelash extensions,
eyeliner embroidery and lip embroidery. She noticed my eyelash
extensions and recommended that I try their Wonder Lash extensions from
Korea next time. Time to book another appointment soon!
Step 3: Shaping and designing the brows
At
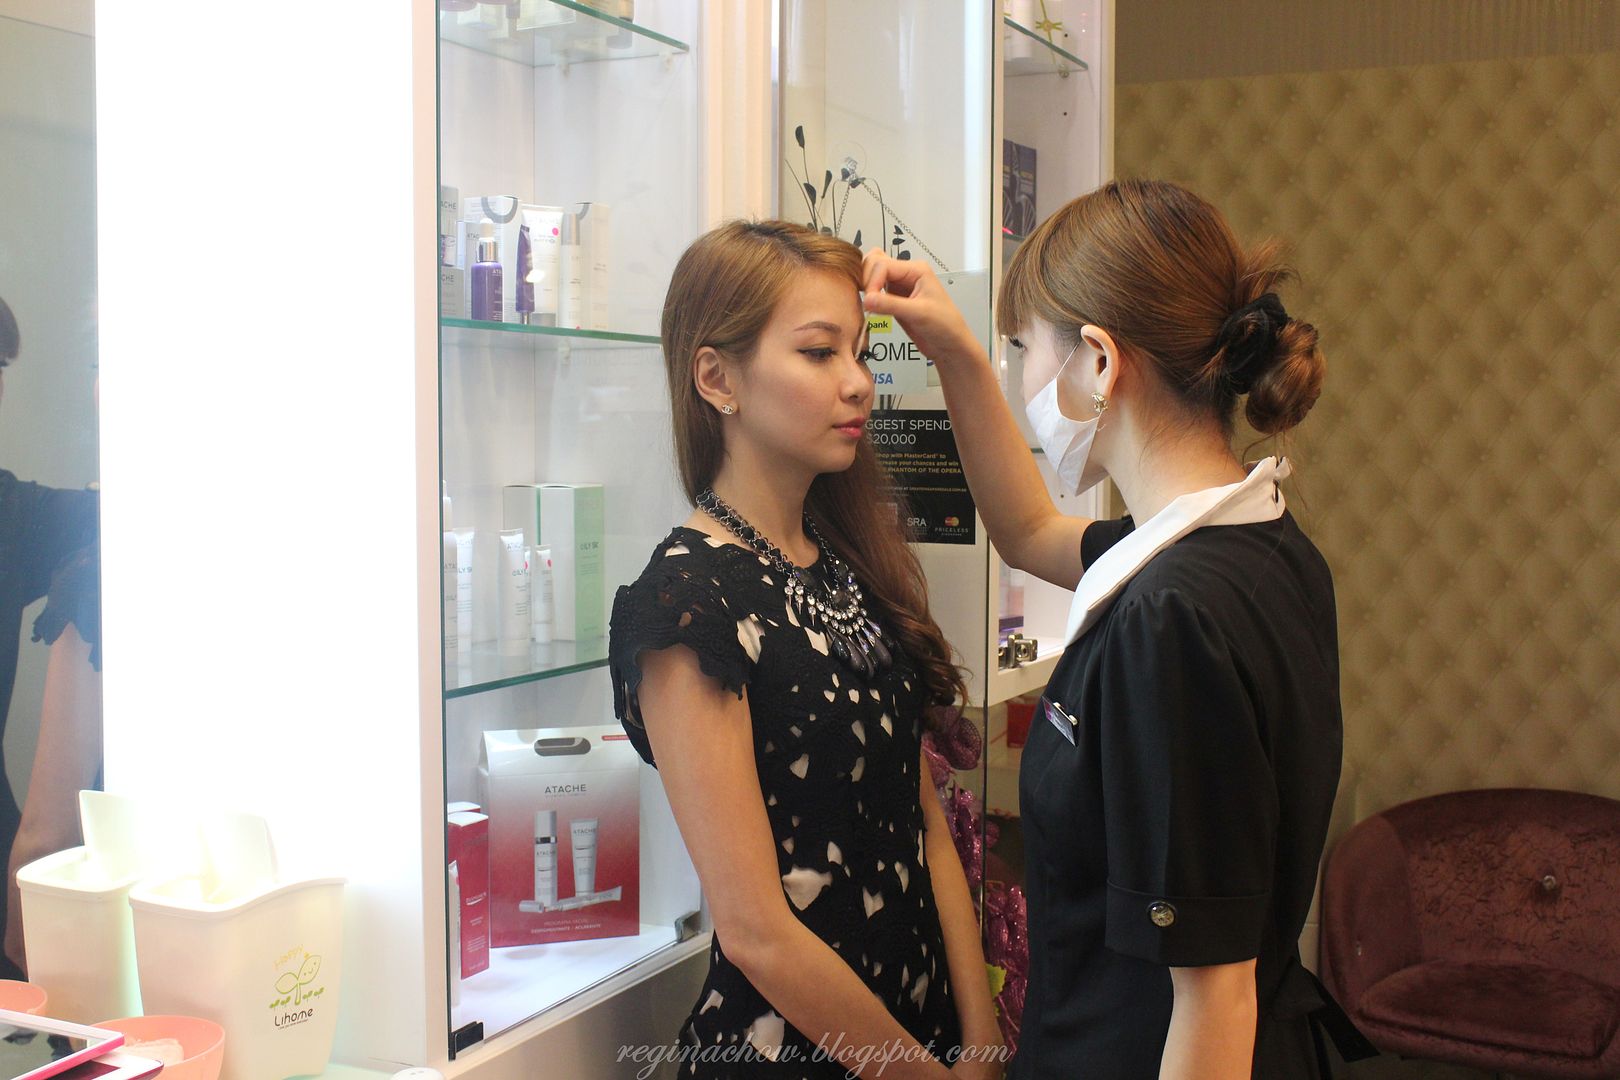
Allure Beauty, your facial features will first be assessed based on the
Golden Ratio to determine the best brow shape to suit your facial
proportions.
Kelly
shared that my facial features generally conformed to the Golden Ratio,
but the space between my eyes and eyebrows was too narrow. Hence, she
suggested that my brow had to be moved up a little higher to bring more
definition to my eyes.
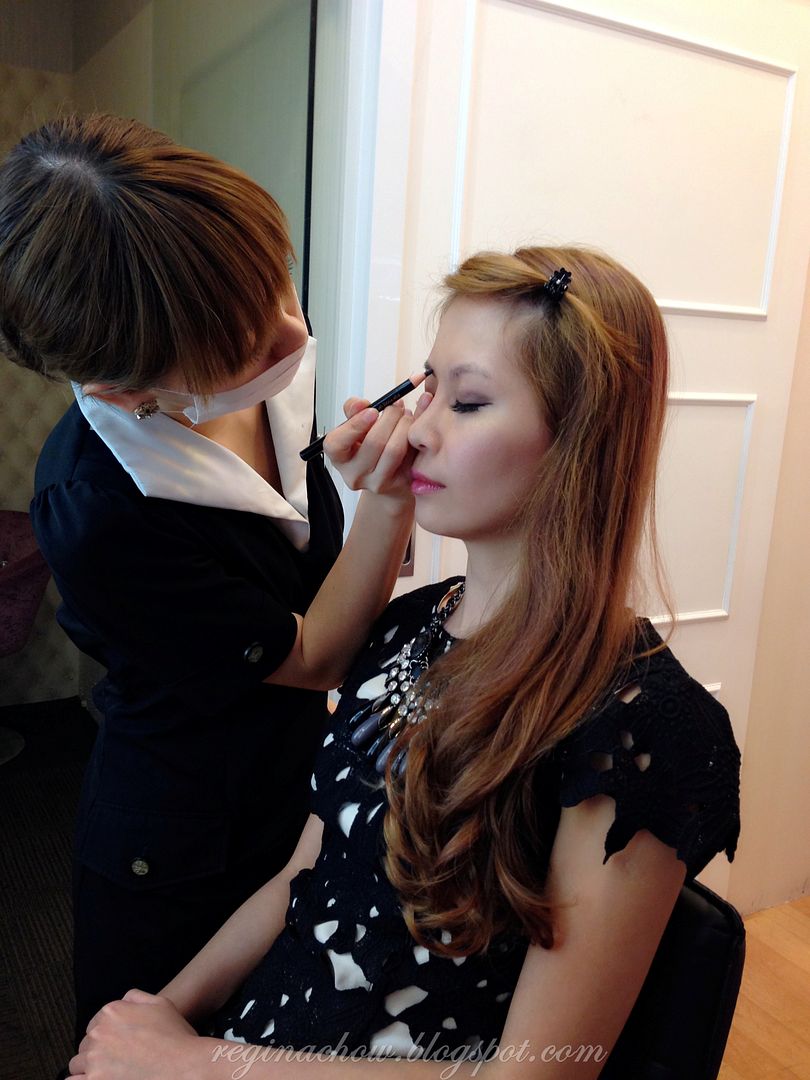
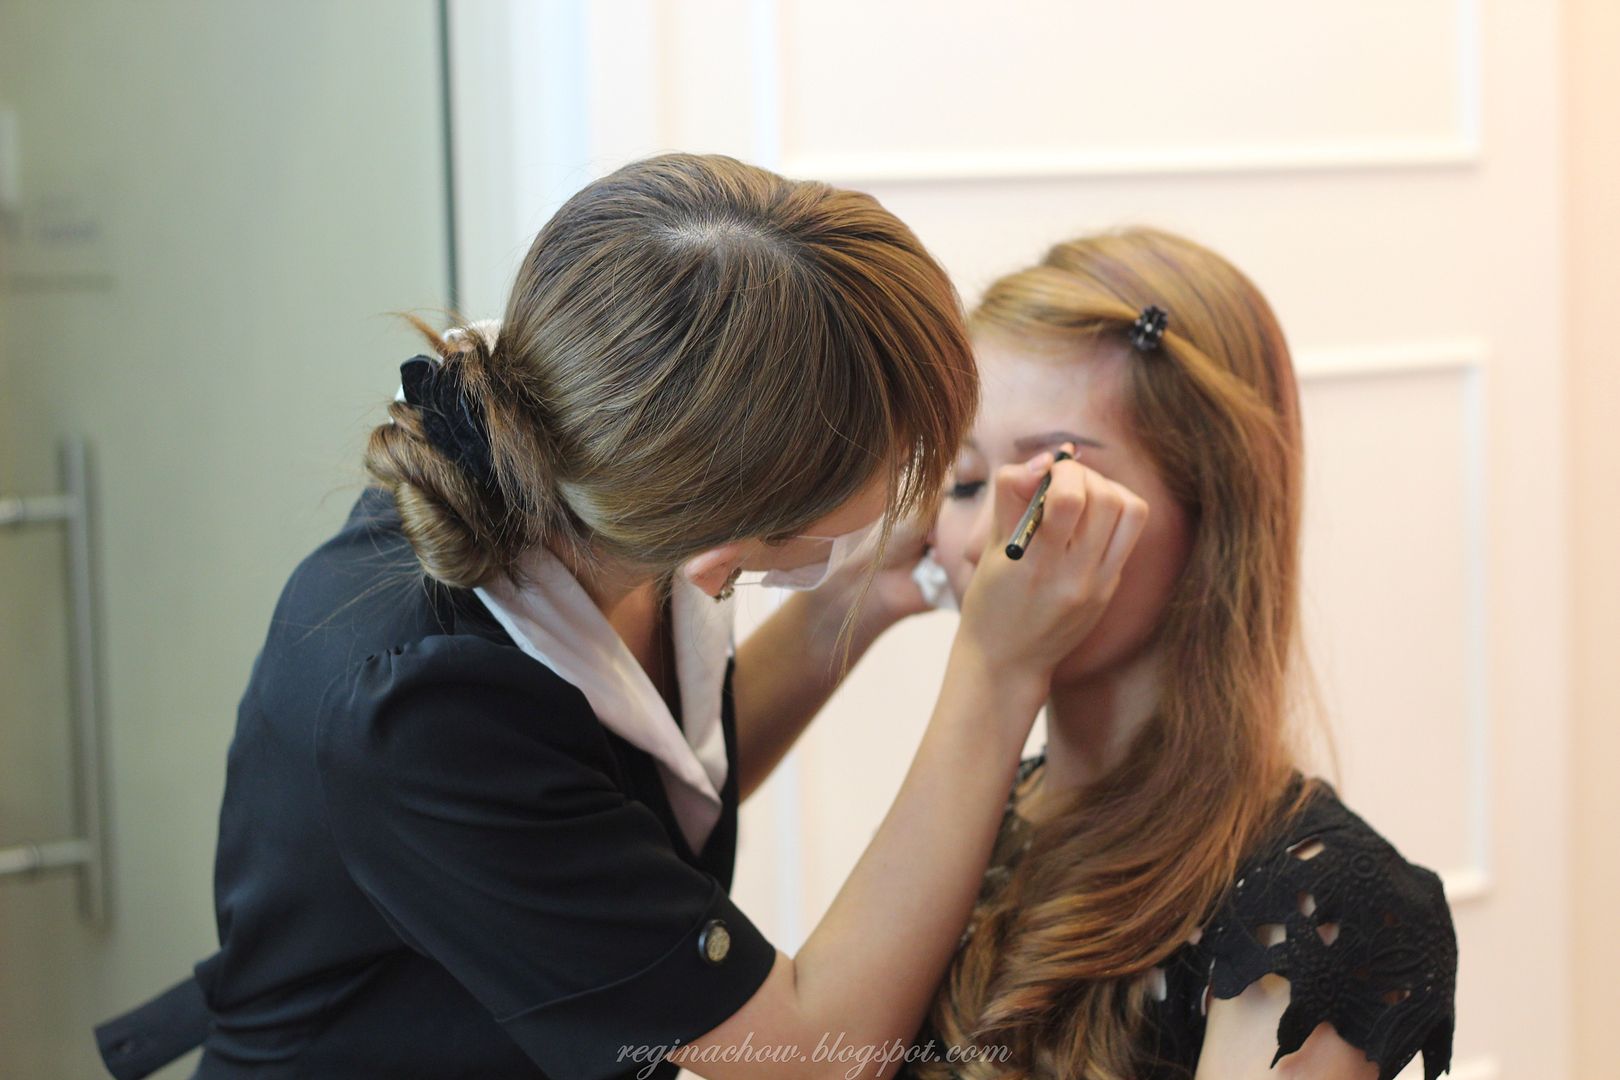
She then proceeded to fill in my brows to the desired shape and thickness.
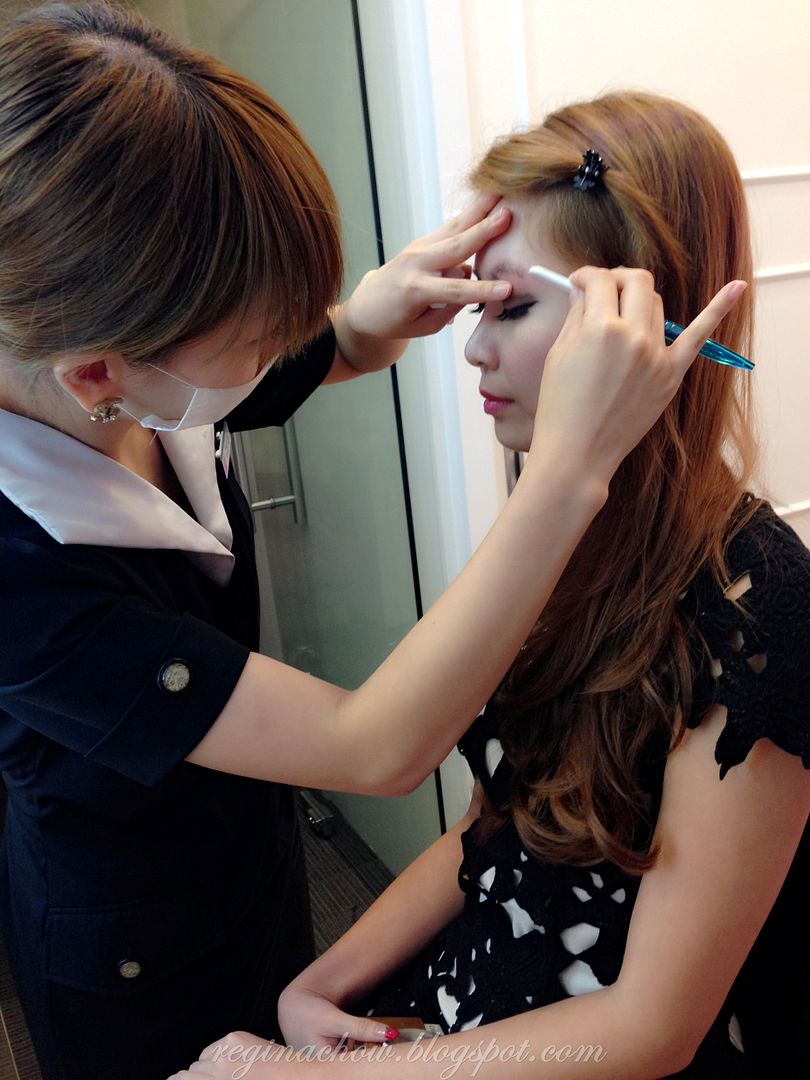
I loved how meticulous Kelly was. As my left brow was naturally higher than the right, she took pains to check that they were symmetrical from every angle, every step of the way.
Step 4: Eyebrow Embroidery
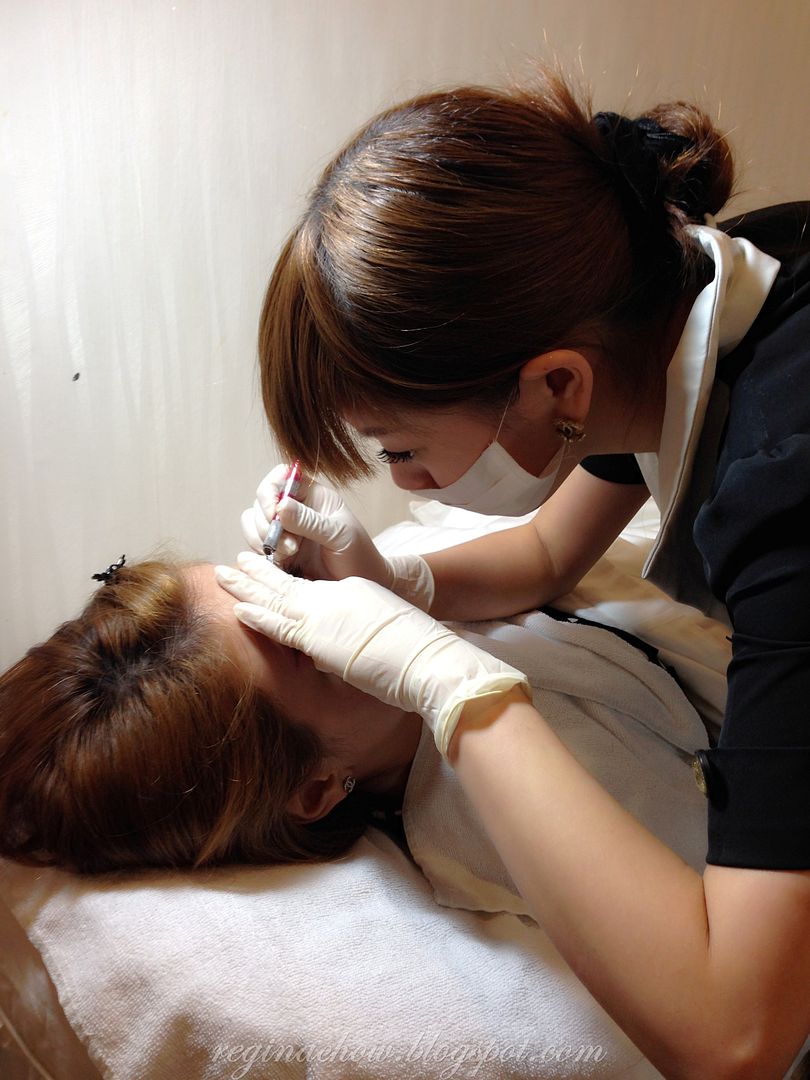
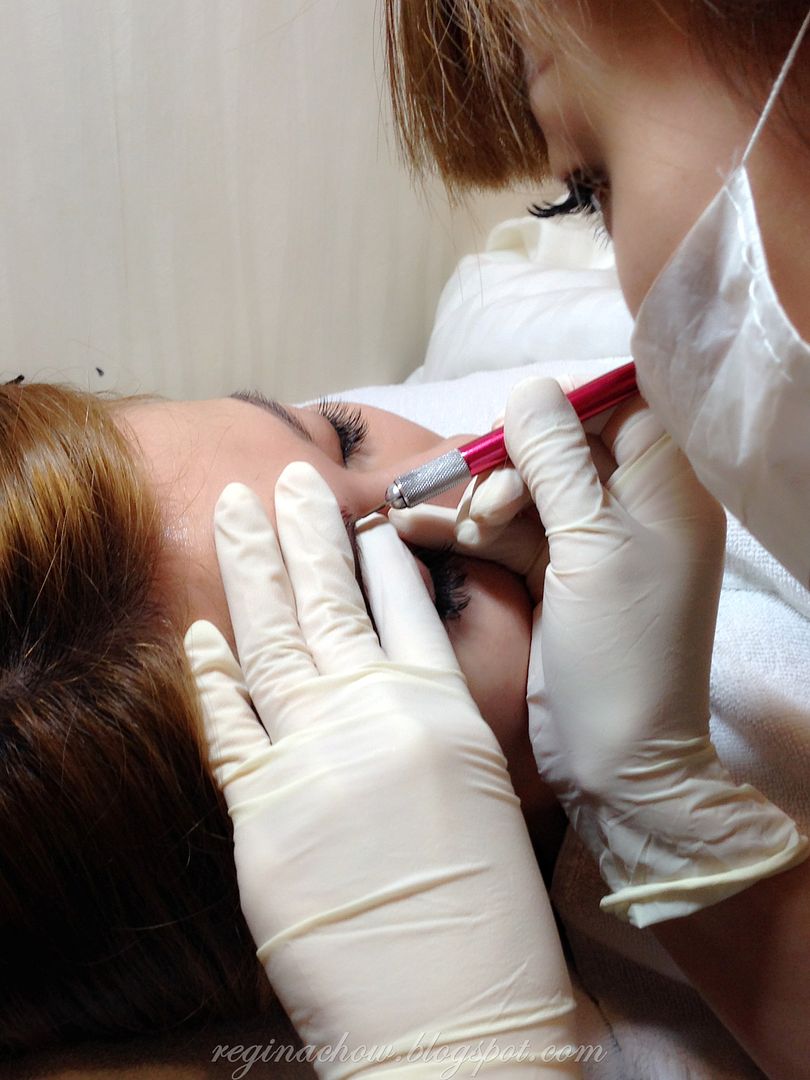
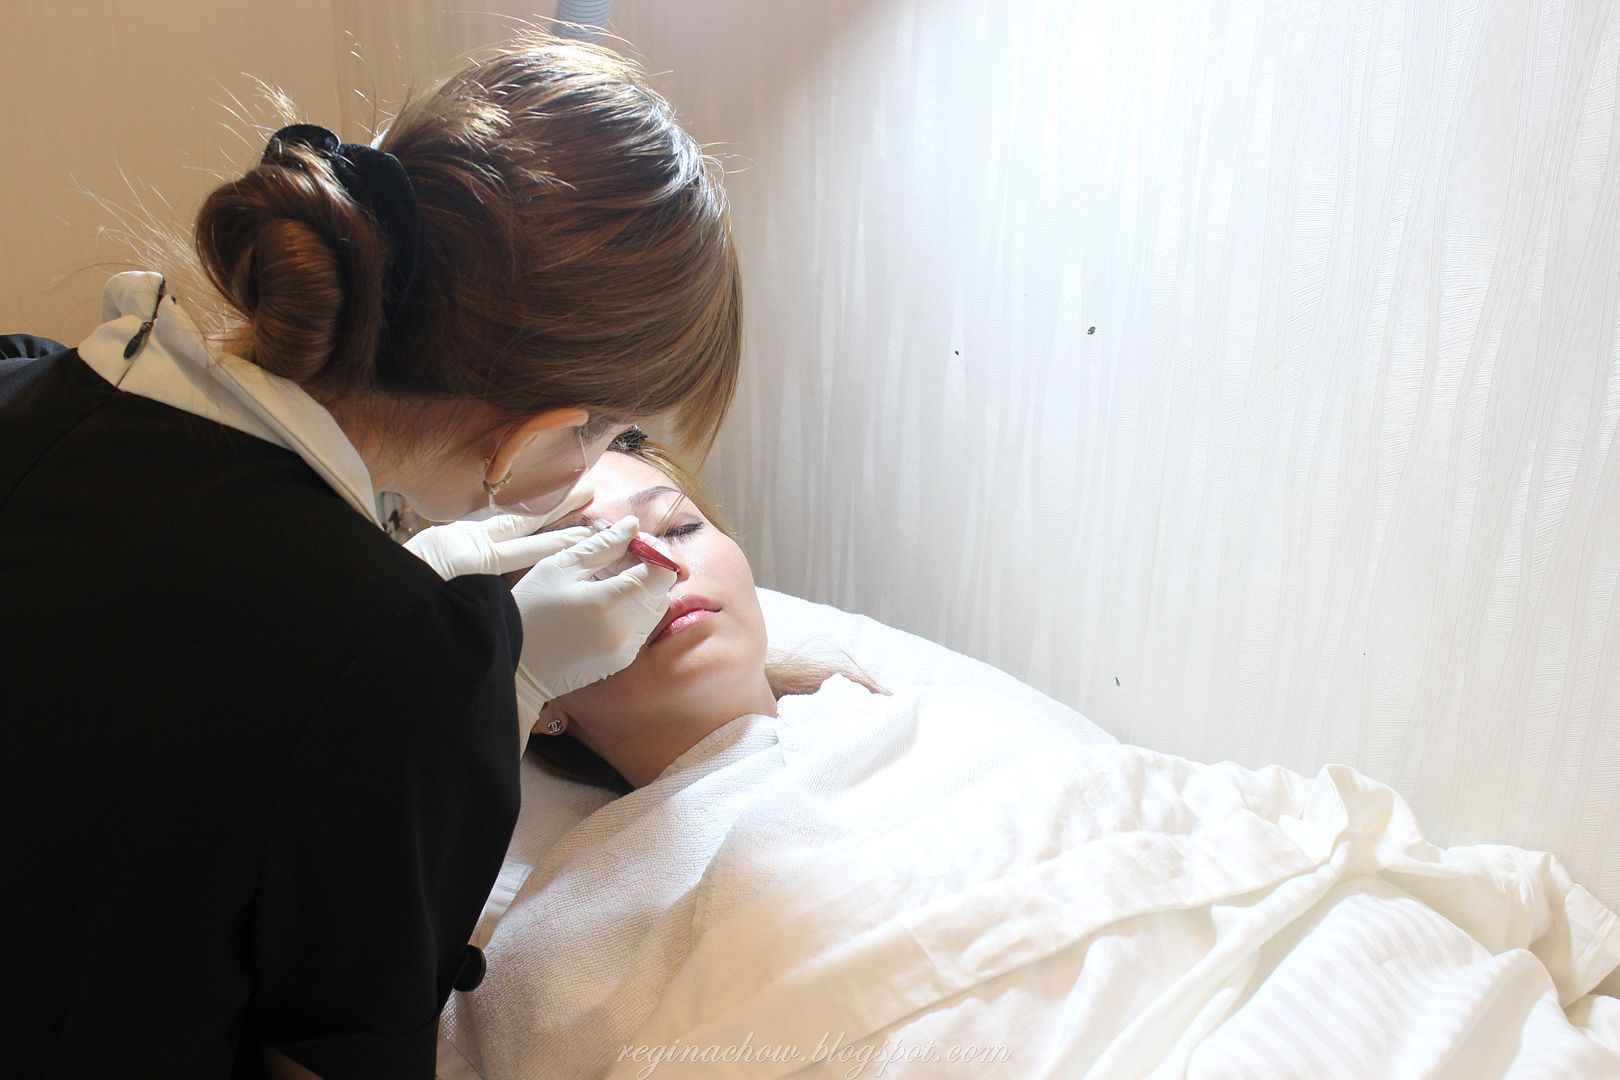
Once I was satisfied with my brows, Kelly invited me into a private room for the eyebrow embroidery session.
Personal hygiene is of utmost importance to Allure Beauty, hence a fresh new blade is used for every customer to eliminate the possibility of infection. The colour used is also specially customized based on your personal preferences.
Is the process painful? How did I feel?
I could feel the blades brushing against my skin with each stroke but to my pleasant surprise, it was relatively painless if you were to compare it to eyebrow plucking.
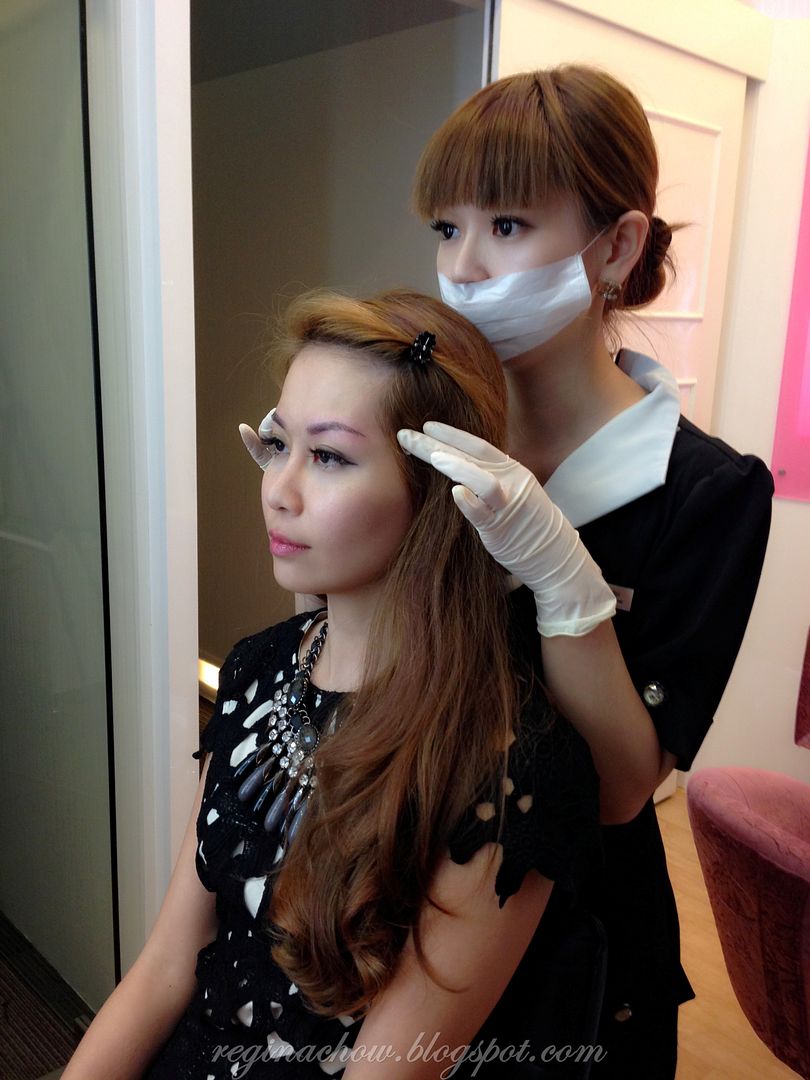
Kelly then sat me up to check on my brows. Please excuse my sleepy look here as I was about to drift to slumberland in the private room.
A few more strokes added the finishing touch and I was done!
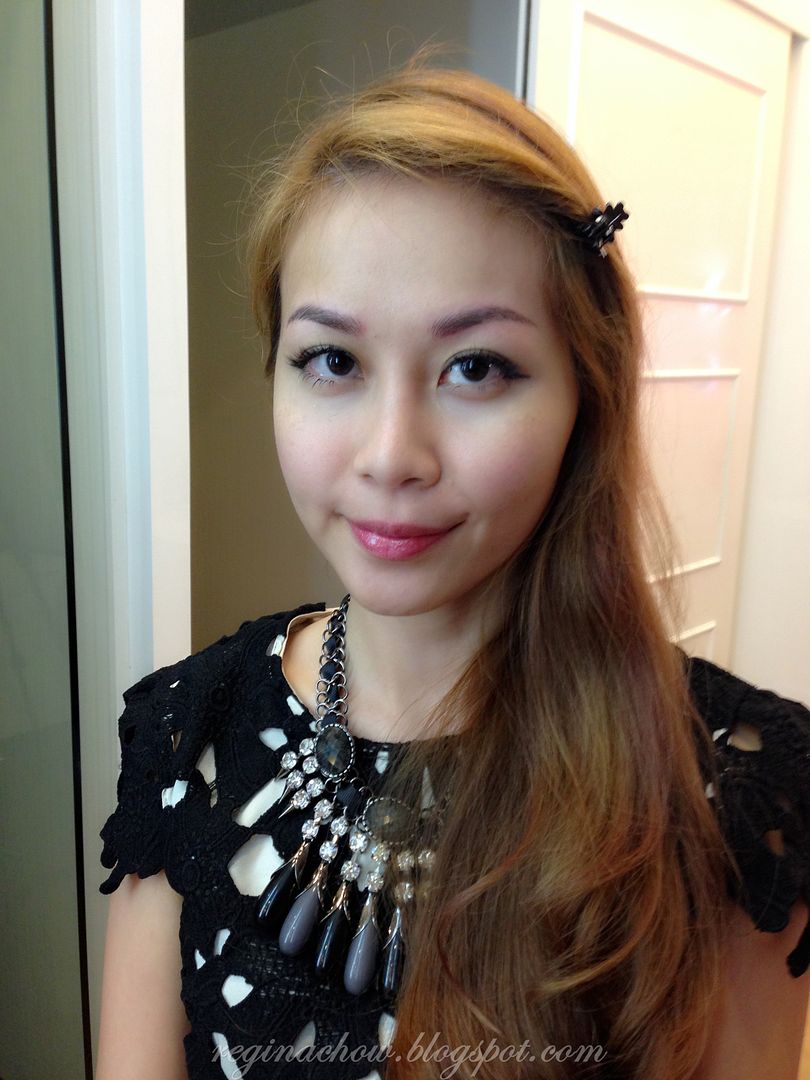
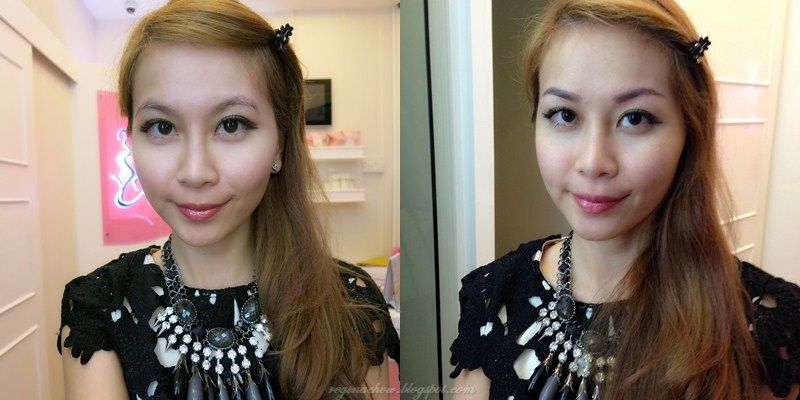
And now for the final look. My skin was slightly red as I have sensitive skin but the redness went away in less than half an hour.
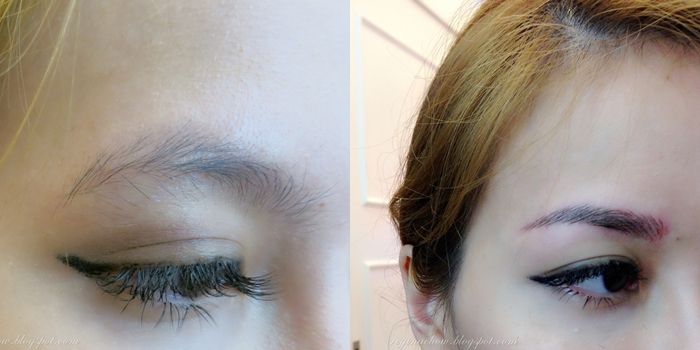
Here’s a closer look at my transformation, complete with before and after photos for a better comparison. I was absolutely amazed by the remarkable difference before and after eyebrow embroidery!
My new brows frame my face better and soften my features too, giving me an even more feminine appearance.
Before and after pictures of my left brows:
Before and after pictures of my right brows:
From the pictures, you can also tell that the individual strokes look just like my own natural eyebrow hair. I really love my new brows and how they pull my features together.
Thank you Kelly for a job well done! Kelly is very pretty, with silky smooth poreless skin to boot. I was so tempted to try out Allure Beauty’s facials after seeing her gorgeous skin.
Are there any after care tips for Eyebrow Embroidery?
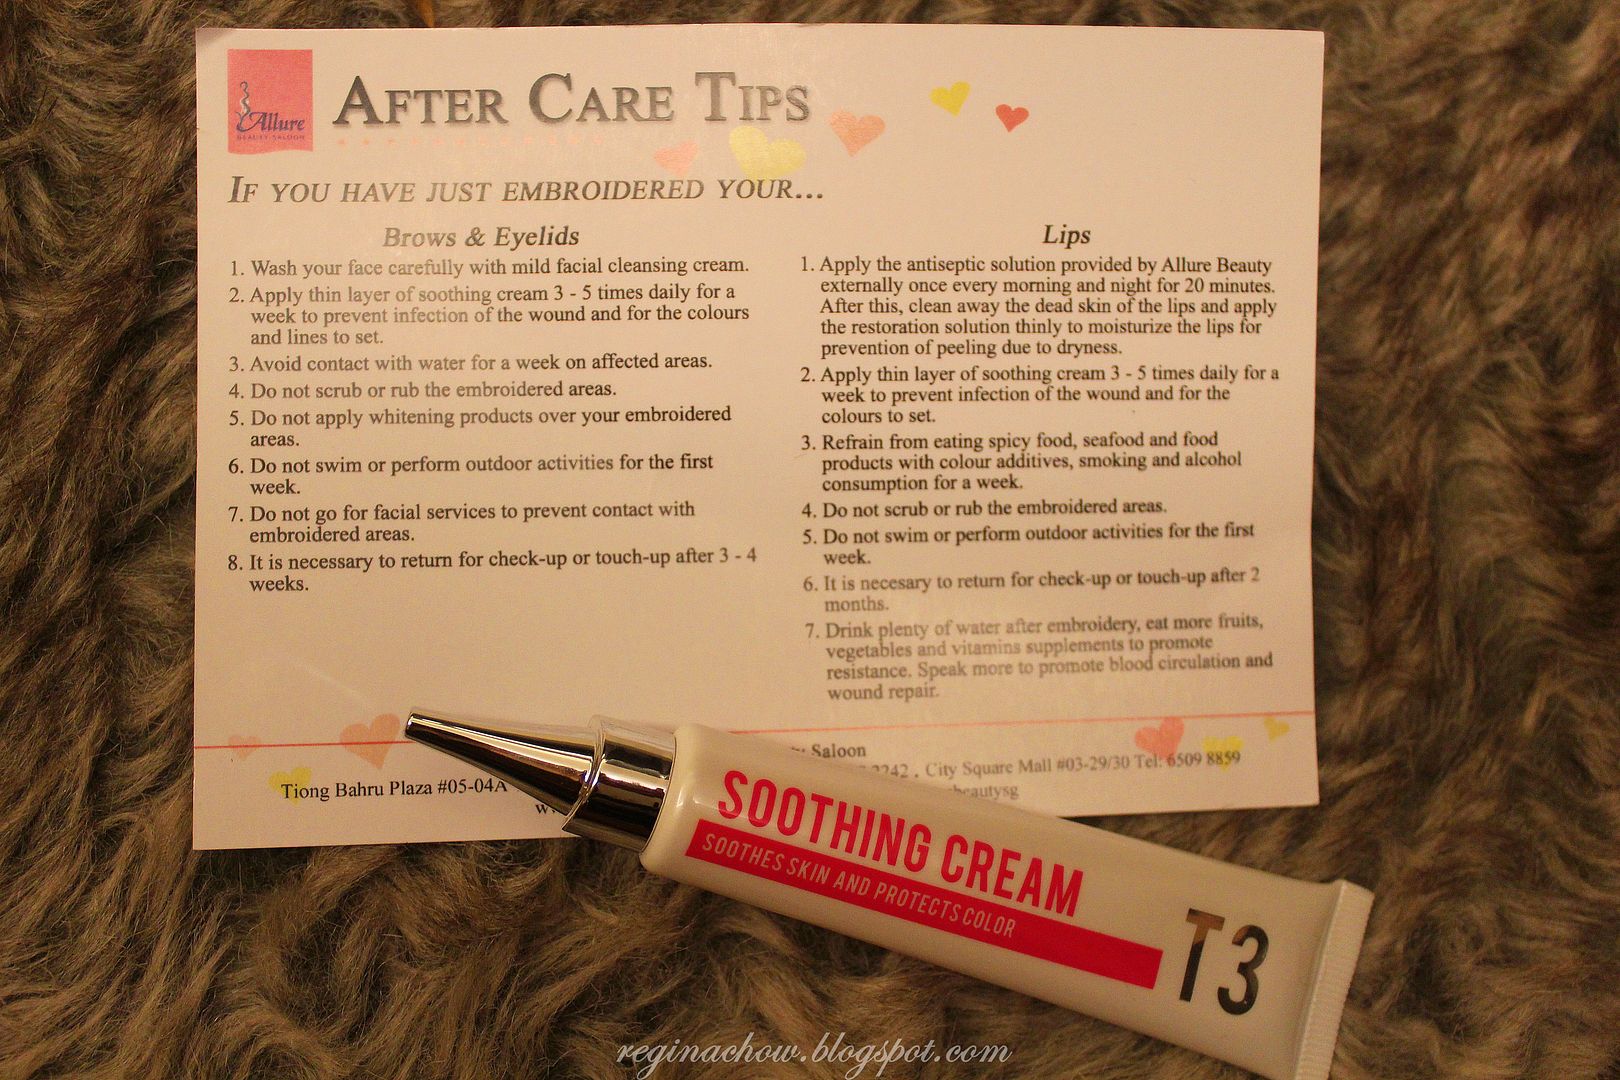
I was given a card with after care tips and a tube of soothing cream (Retails at S$48) to be applied 5 times daily with a clean cotton bud for a period of 1 week.
Remember to ensure that your eyebrows do not have any contact with water for a week. Not only does this prevent infection, it also ensures that the colour lasts much longer.
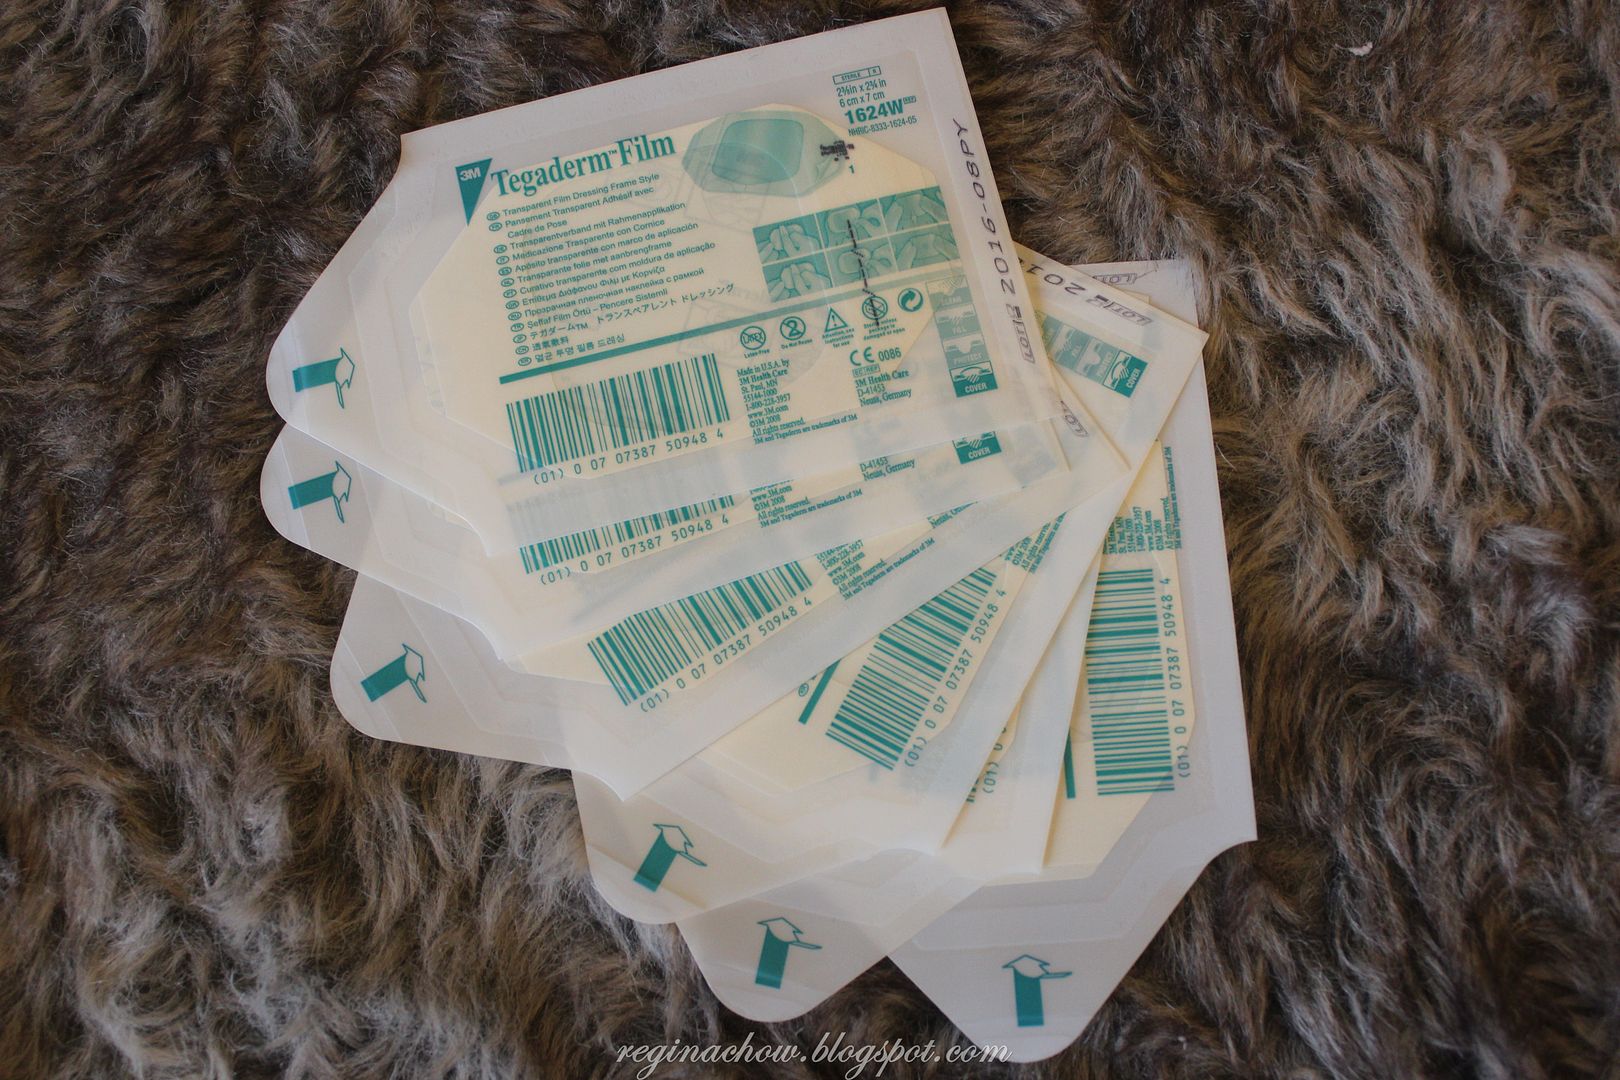
To prevent any contact with water, Kelly suggested that I use these 3M Tegaderm Films which feel just like clingwrap-like stickers on my brows when I shower. You can get them from any Watsons outlet.
Instead of facial wash, I also switched to a tissue-off cleanser (Avene’s Extremely Gentle Cleanser No Rinse Tissue-Off Formula) for a week.
My Healing Process
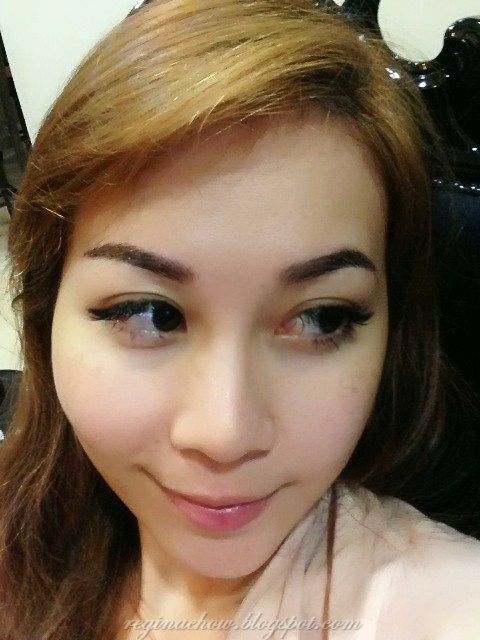
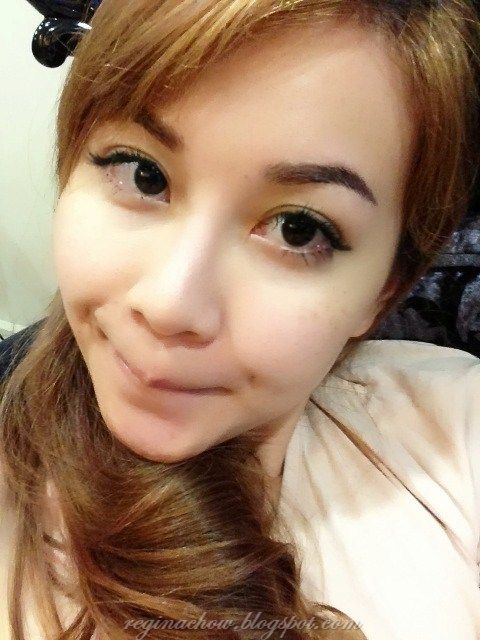
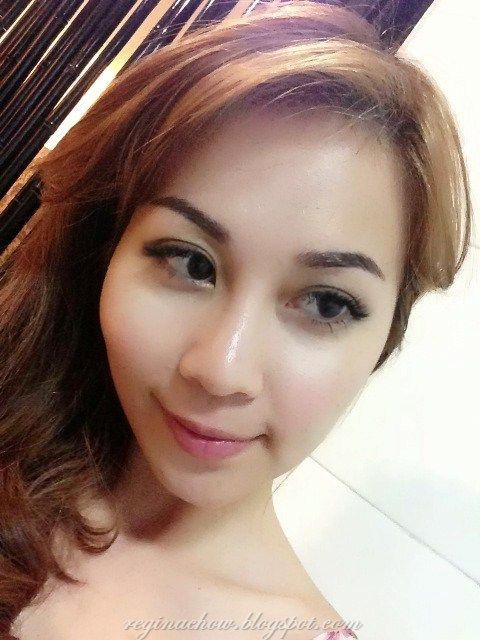
I also took some pictures following my eyebrow embroidery session so that you will have a better idea of what to expect.
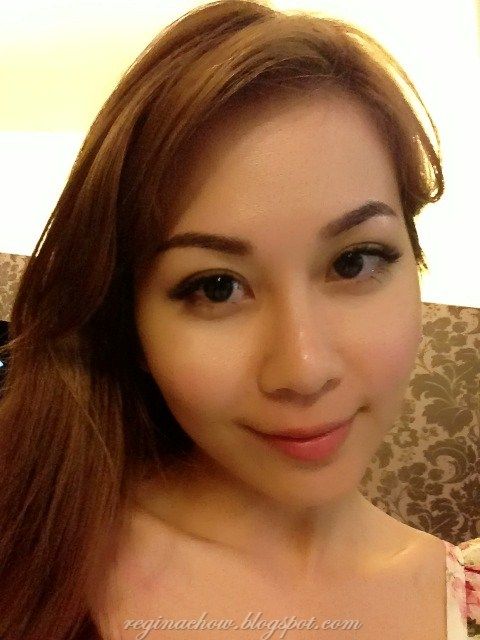
Day 1 – Without Make-up
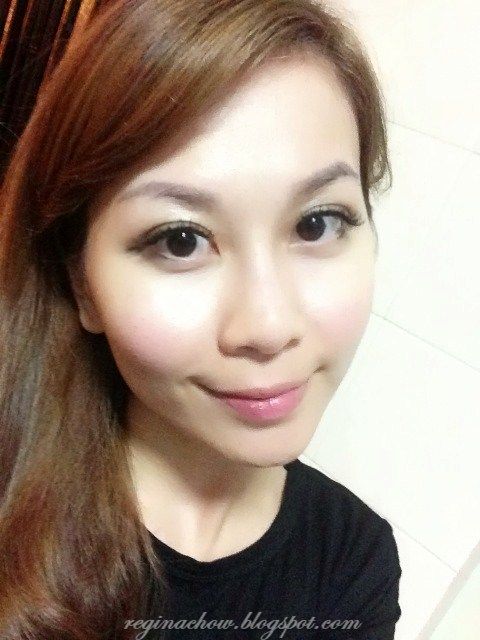
Day 3 – With Make-up
1 Month Later – With Light Make-up
The colour fades by about 50-70% after the 1st month, hence a touch-up is necessary for maintenance. I love how natural it looks after a month though, and now, I no longer have to hide my brows behind my bangs!
One of my girlfriends saw me with my new brows the next day after my eyebrow embroidery and was so impressed she immediately booked herself an appointment at her nearest Allure Beauty Saloon for the Allure Signature Eyebrow Embroidery session. Now, we both have beautiful brows!
******
Special Discount for Blog Readers:
All readers of ‘Shopping Queen’s Haven’ will also be entitled to a 10% discount off the Allure Signature Eyebrow Embroidery session. Simply quote my blog name or my name “Regina Chow” to enjoy this offer!
As Kelly is the principal trainer at West Mall outlet, an Allure Signature Eyebrow Embroidery session with her would cost S$1680 excluding GST. This includes 2 free touch-ups (after 1 month and another after 1 year).
*****
Allure Beauty Saloon
Website:
Facebook:
Addresses, Contact Numbers and Opening Hours:




























Recent Comments